Reposted with permission from Ashley

Hi! If you have been following along, you know we just began our kitchen remodel and finally got rid of our horribly dated backsplash!

Here are the links to the reels that tell you more about our project step by step!
Part One: Demo/tear out backsplash
Products I used: putty knife, rubber mallet, protective gloves, safety glasses, and a hammer

Part Two: Tearing out drywall
Same as above as well as a straight edge, stud finder, electricity tester

Part Three: Replacing drywall with backer board, and putting up backsplash with thinset
It will depend but we replaced our drywall with the same thickness of backerboard (cement board) to better protect the kitchen. 1/2″ backerboard or 1/4″ backer board are typical sizes! We cut our’s mostly with a utility knife and folded it to crack it. If you go this route, make sure you have lots of new blades! That’s crucial. Ironically, my parents are ALSO doing their kitchen backsplash and my dad had way better cuts by using an oscillating tool. MUCH cleaner cuts. Here is the tool & blades you can get it all for about $25 from a local Harbor Freight.
You will need screws made for going through backer board like these. Once the backer board is up, if you’re like me you may need to patch some. I used mesh tape and white thinset. Depending on your backsplash you might need outlet extenders. You will need to add trim BEFORE laying your tiles. We went with gold trim and it is SO pretty! You will apply it with thinset also and use a level to make sure it lines up correctly. You will apply the thinset using a putty knife and made our lines with a notched trowel.
Thinset is also what you will use to attach your tiles to the wall! Same process, putty knife and notched trowel.


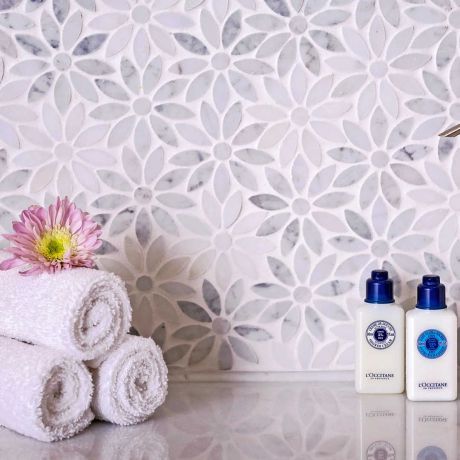
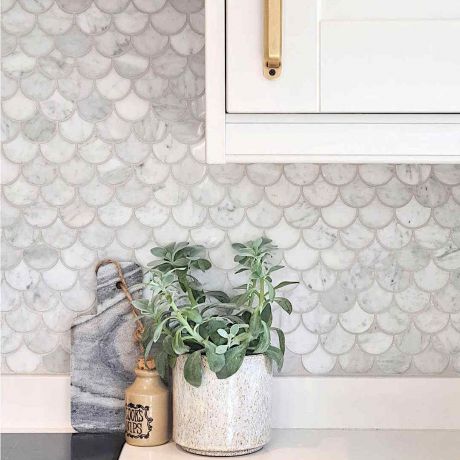
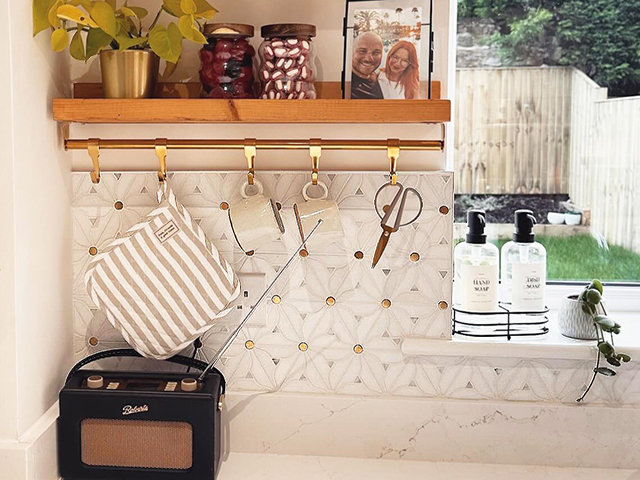
Our backsplash is so stunning and we got it from E Mosaic Tiles. I went with white thinset because marble is very porous and I didn’t want to stain our backsplash. We used spacers and a wet saw to make our cuts. You will let the thinset and tiles dry for about 24-48 hours before grouting!
For grouting: we used white grout to avoid stains and I’m obsessed! SO beautiful! We applied it using a grout float and wiped off the excess with a grout sponge. Let that dry for 3 days before applying caulk and sealing it all in. Wait one day after caulking to allow it to dry and then seal it all in using a natural stone sealer. We put our outlet covers on and it’s done!


Guys, I’m a rookie here and I did the majority of this all by myself and I am so proud. If I can do it, so can you! So what are you waiting for!? Let me know below if you’re going to try! See the final kitchen update here. Stay tuned for the remaining kitchen Reno!
Xoxo,
Ash


Post comments
Leave A Reply
Your email address will not be published.