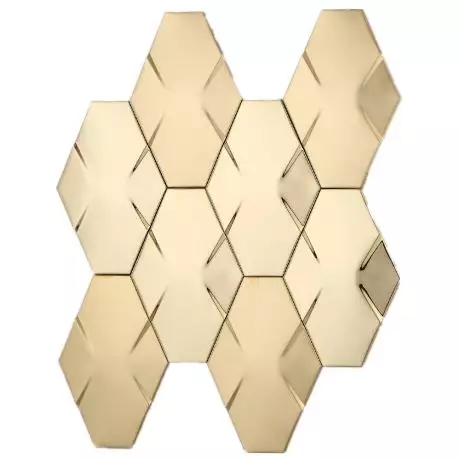
Click here to see the relative products
After years from the last renovation, you do want a 'fresh' decoration for you family.
- But Christmas is coming real soon, you don't have enough time to plan and remodel your kitchen or sitting room.
- And another headache is, people is expensive to hire in this period of time. Or they don't even take a new renovation job right before Christmas.
How? Thanks to Gemma, designer from luxeology, following her steps you can DIY a stunning kitchen Backsplash or Accent Wall in 3 hours, for only 300USD! That's really cool, right?
First of all, take a look at the Before-After comparison.
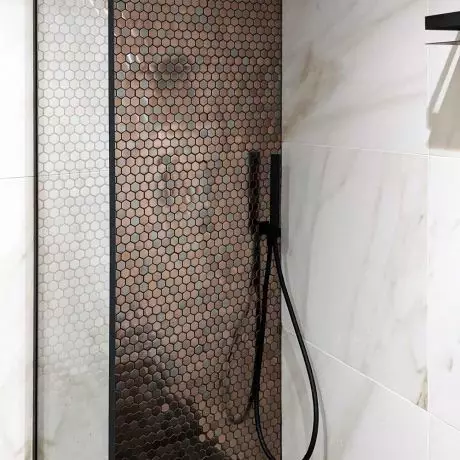
The designer, Gemma finds the original kitchen backsplash boring. She says, " So the splash back has had a number of looks over the last year or so. We started off with boring white which lasted a grand total of 5 minutes. Oh so long you say, well I had to get the lid off the paint tin didn’t I!? "
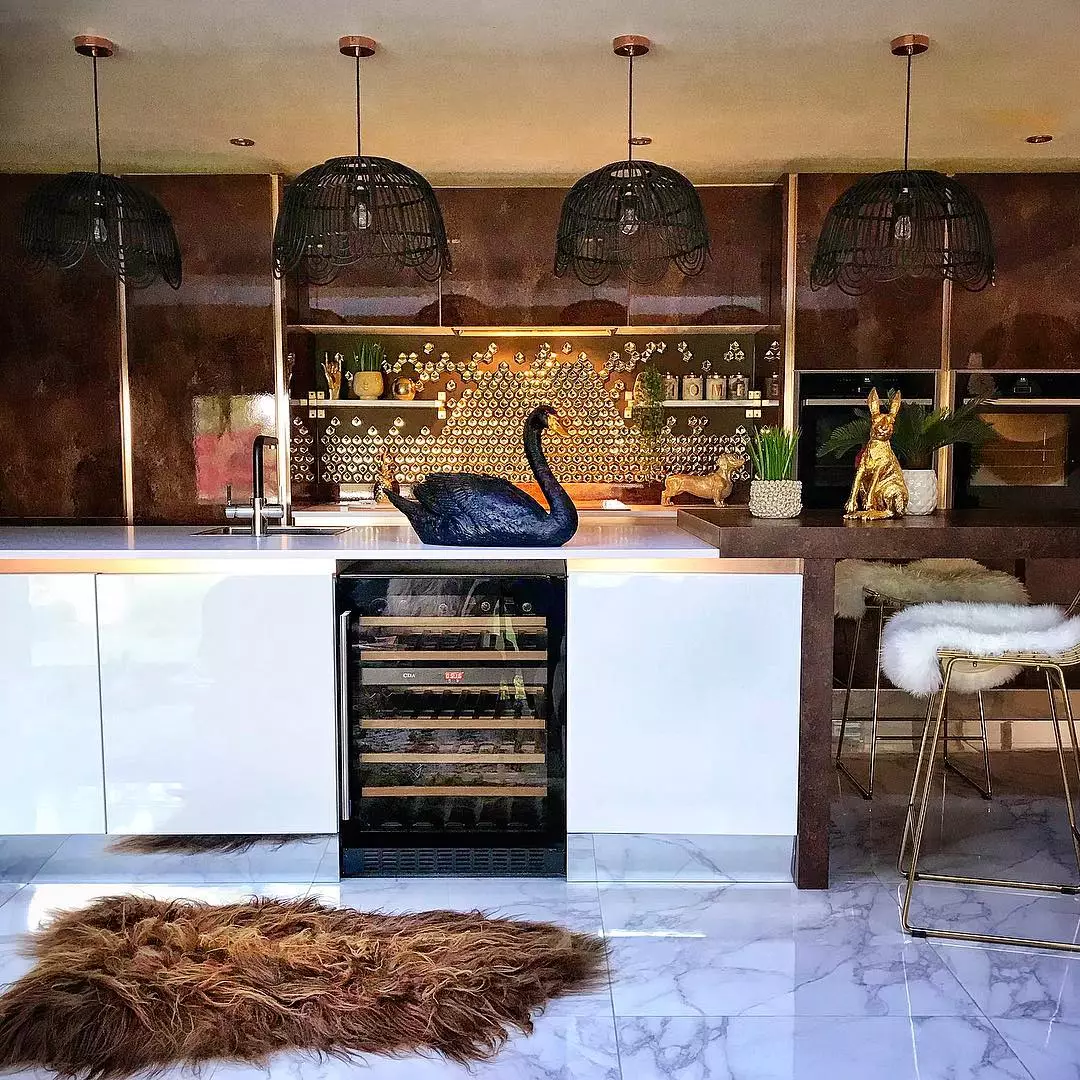
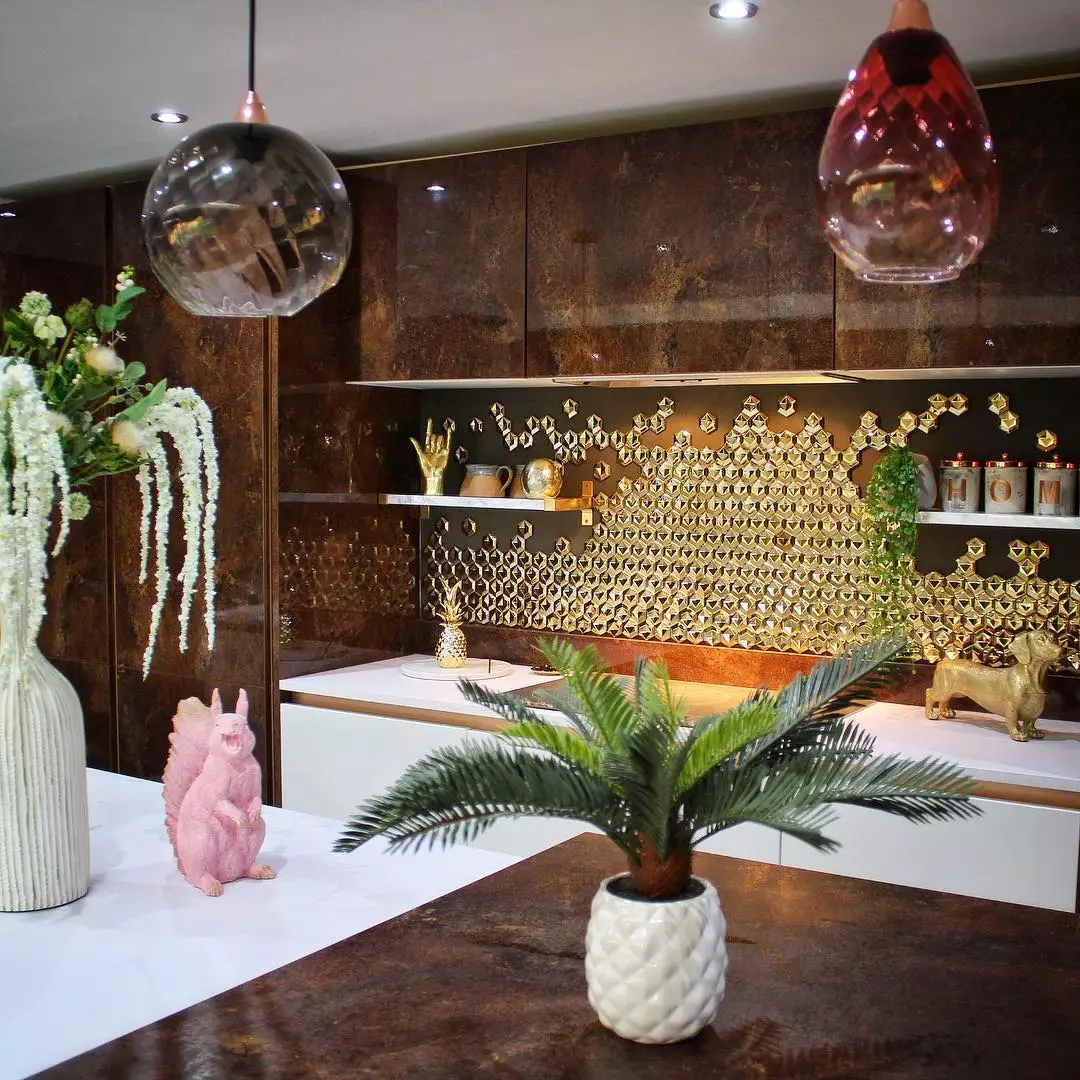
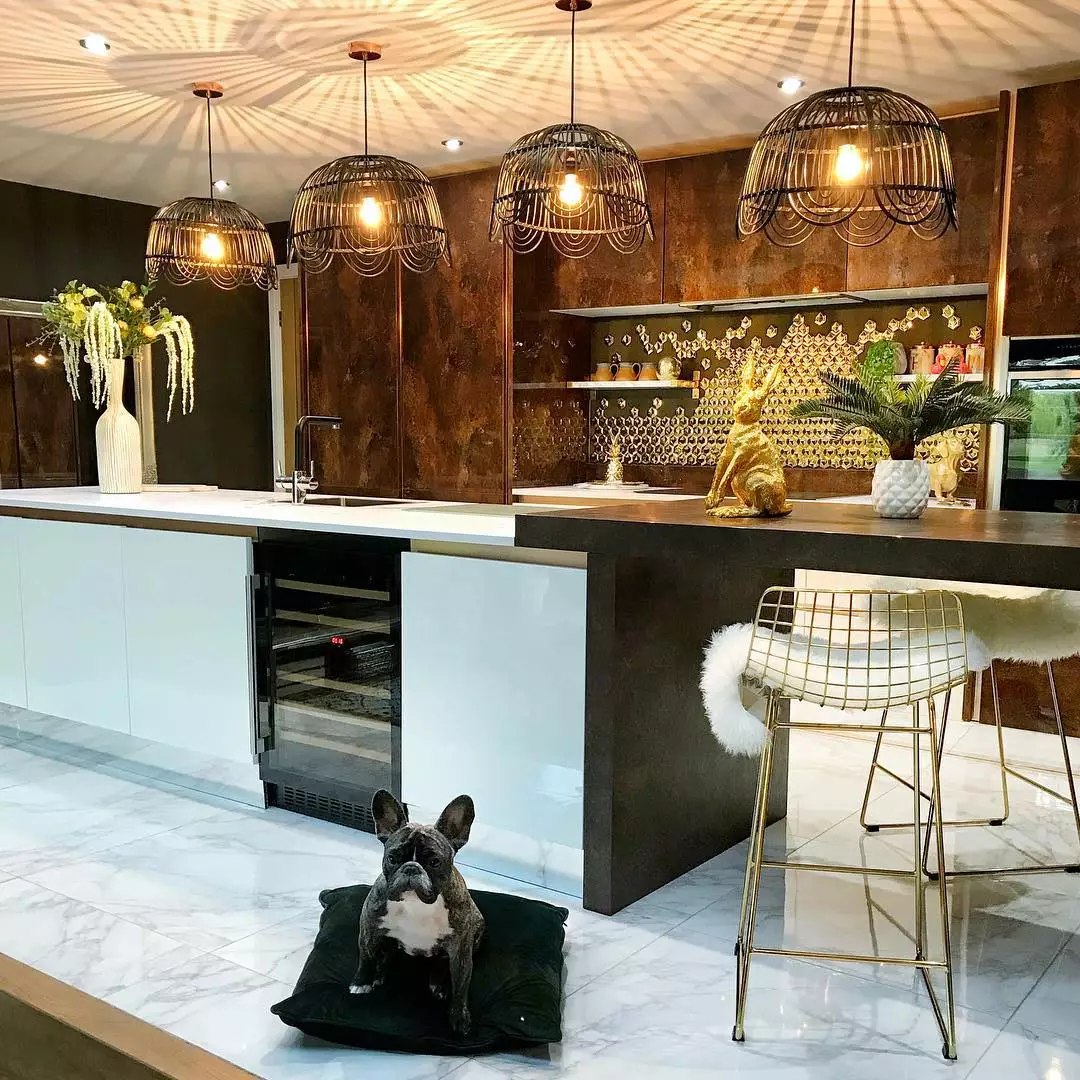
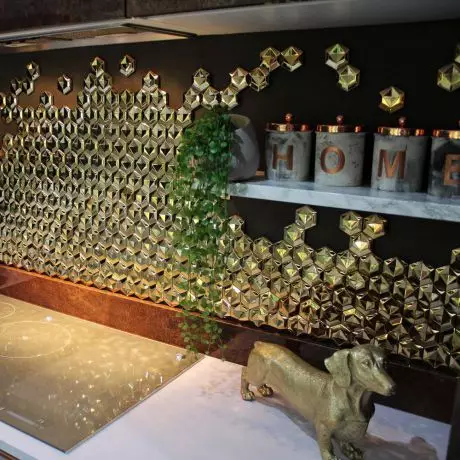
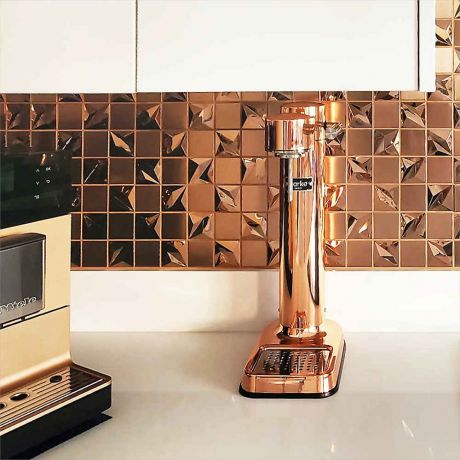
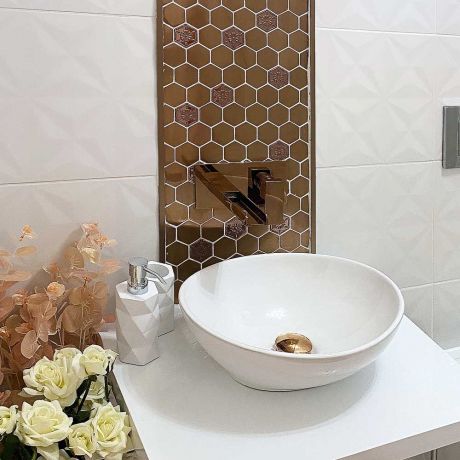
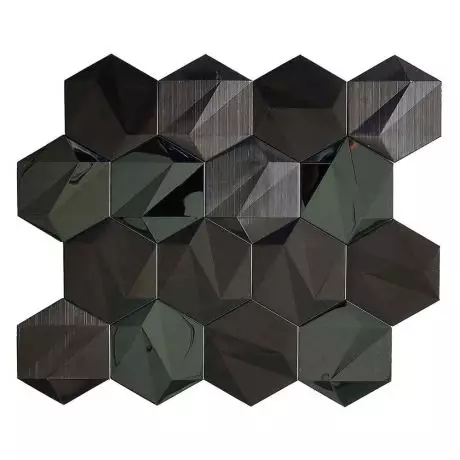
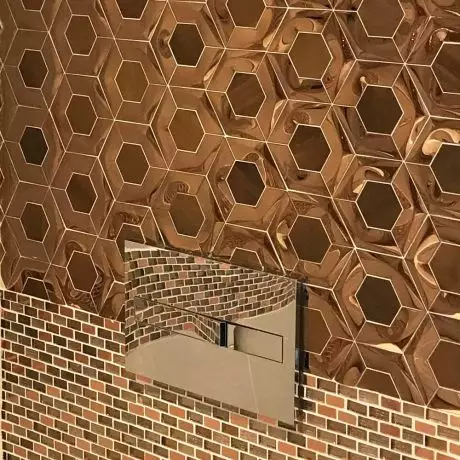
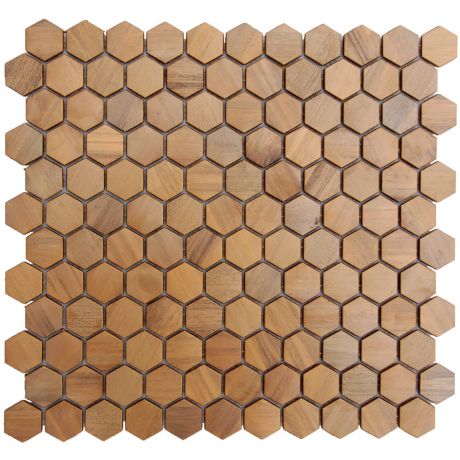
So Gemma finds a stainless steel mosaic tile, hexagon shape with golden color. It's really stunning! She bought 1 sqare meter, cost less than 300USD, for her renovation projects.
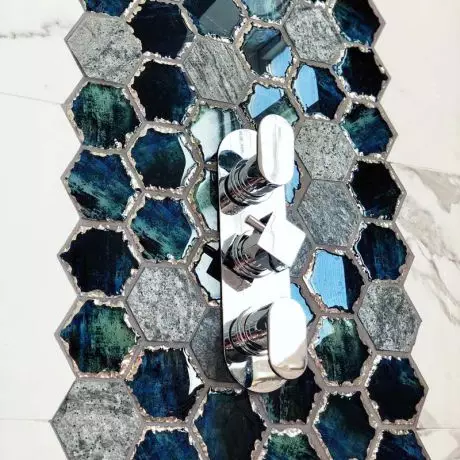
After Gemma's DIY, of course by her profession,talent and the great hands, she gets her golden stunning backsplash now. From white it goes to gold metallic. WOW it's NICE! How AMAZING!

So let's get started!
The mosaic tile comes with a fiber-glass mesh backing, like most mosaic tile does.

We recommand you do what Gemma dose, that is pull all the mosaic chip off the backing. But remember to put on your gloves before fulling off the chips. We don't want your fingers get hurt while diy the backsplash or accent wall.

Because the mosaic tile is designed to be installed by grout. If you hate grout like Gemma(grout is always messy and makes your place full of dirt), pull the chips out then use an neutral adhesive to install. Another advantage is, you can adjust the little gap between the mosaic chips as you like, or even you can install them with no gap at all.

The hardest part probably was getting the actual tube into the gun dispenser. You can find some help when you buy the adhesive and dispenser in the shop, ask them to get things installed for you. Once this was done it was incredibly easy to attach the tiles to the wall.

Only a small dollop of No More Nails adhesive is needed in the center of the tile.
 Arrange the tiles in a haphazard style with no pattern and as little symmetry as possible. That makes your backsplash or accent wall looks modern and clean. Great style.

And to be honest, that was that! The adhesive is absolute no nonsense so be certain of where you want the tile to finish up before touching it to the wall. Avoid touching or cleaning the tiles for a good few hours after completion. You can simply leave it overnight then simply sprayed with a glass cleaner and buffed up with a microfiber cloth.

Pictures by Gemma from luxeology.
Here we summerize the points:
-
#1. Prepare your wall, make sure it's flat and dry.
-
#2. Put on your gloves and pull off the mosaic chips from the backing.
-
#3. Use only a small dollop of adhesive at the center of the tile, then install it at whatever place you like.
-
#4. Wait for hours after completion(overnight is suggested), then clean it with the glass cleaner and soft cloth.
Only 4 steps to DIY stunning backsplash or accent wall, quite easy, right? Believe in yourself. You can do it! Get your family an Amazing decoration right before Christmas.

Back to Top
Post comments
Review by KazkzrdZex
Leave A Reply
Your email address will not be published.